Vendor User Manual for Arts.Sale
Navigate to the Login/Sign-Up Page
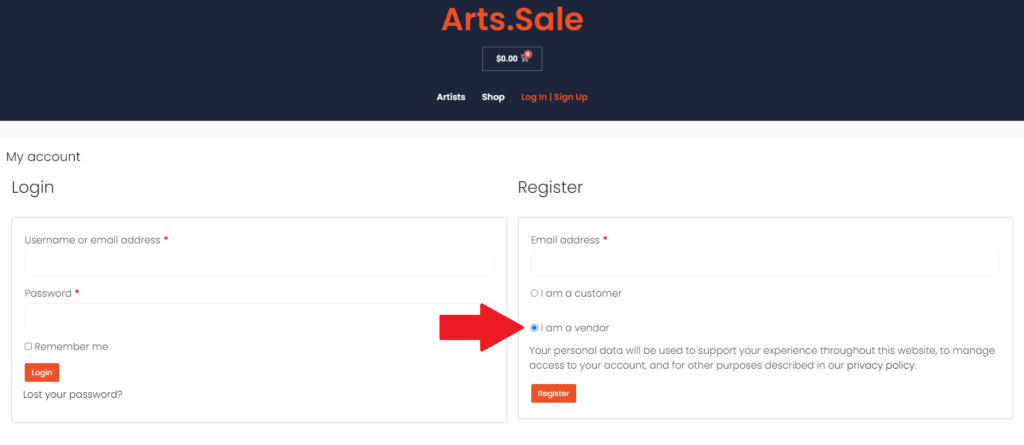
- Go to the Login | Sign-Up page.
- Follow to the Register section and choose “Vendor.”
Enter Your Details

- Provide your Email Address, Full Name, Shop Name, and Shop URL (the URL will auto-fill based on the Shop Name, but you can change it if needed).
- Enter your Phone Number.
- Agree to the Terms and Conditions.
- Click the “Register” button.
Confirm Your Registration
- An activation email will be sent to you. Keep the registration page open until you receive it.
- If you don’t receive the email, check your spam folder. You can also resend the email from the registration page.
- Follow the instructions in the email to create a password and confirm your email address.
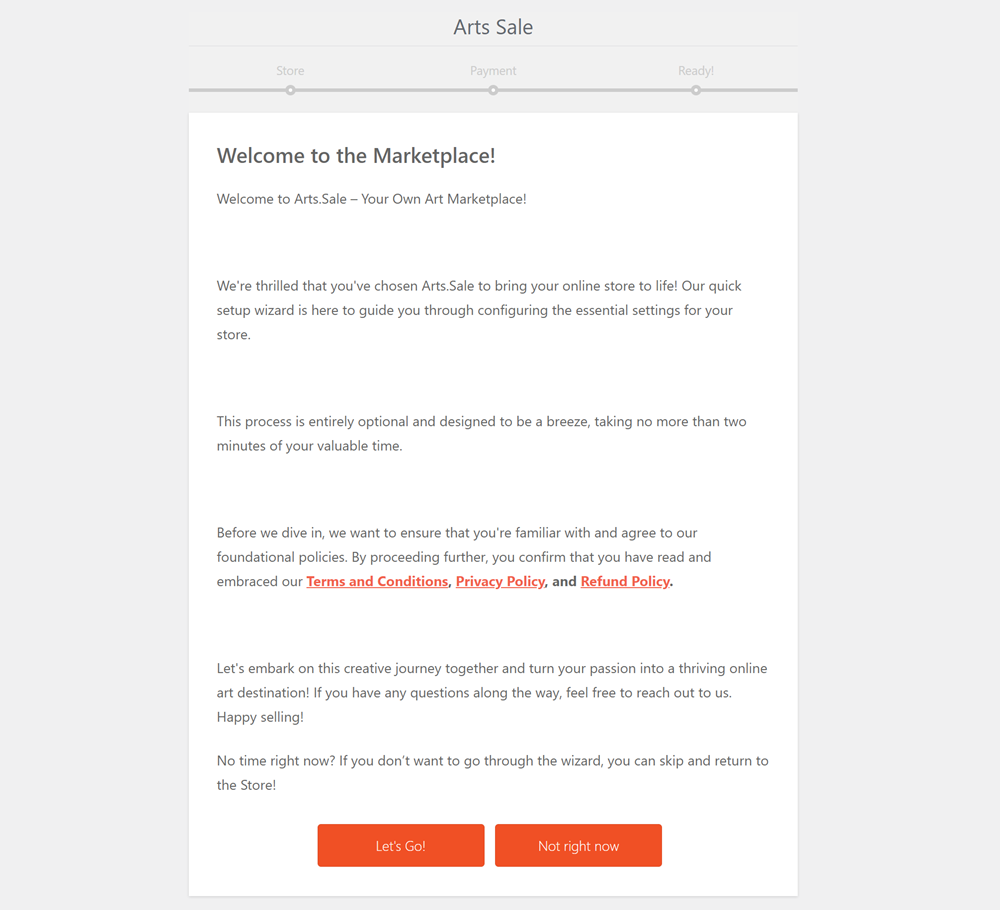
Congratulations! You are now a registered vendor. Let’s set up your store.
Store Info and Appearance
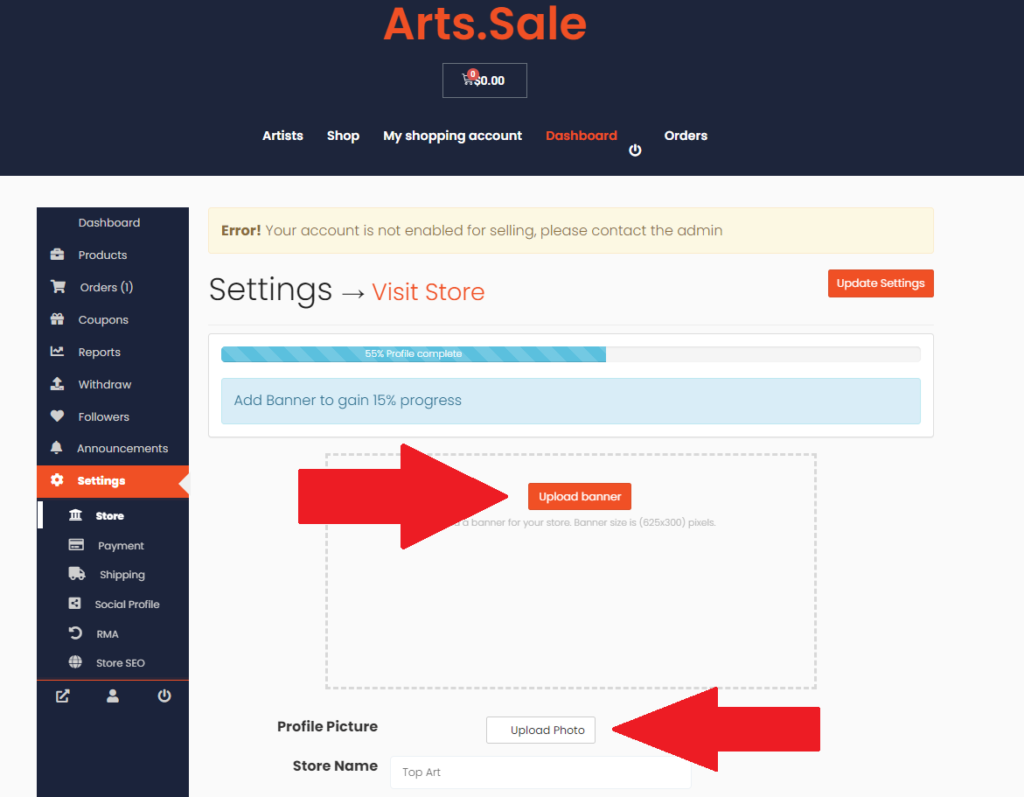
- Log in to your account, go to the Dashboard, then Settings, and choose “Store.”
- Log in to your account, go to the Dashboard, then Settings, and choose “Store.”

- Upload your Store Banner and Personal Avatar.
- Check and update your address and location (city, suburb, and country).
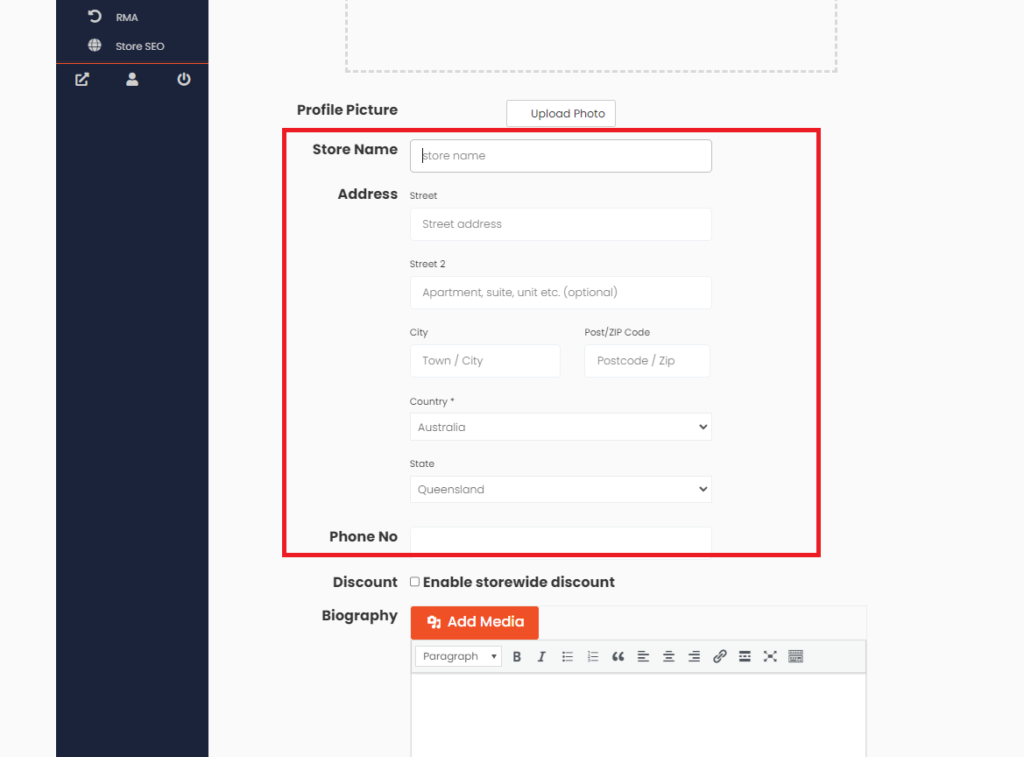
- Optionally, set up a discount offer for your shop.
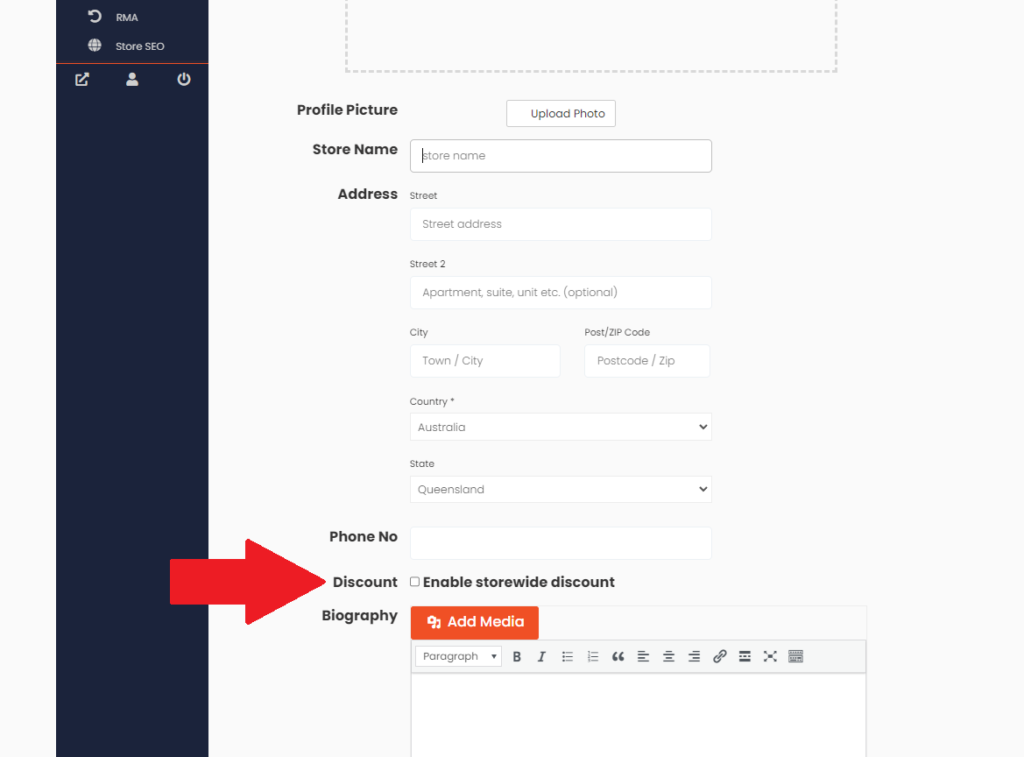
- Complete your biography to tell buyers a little about yourself.
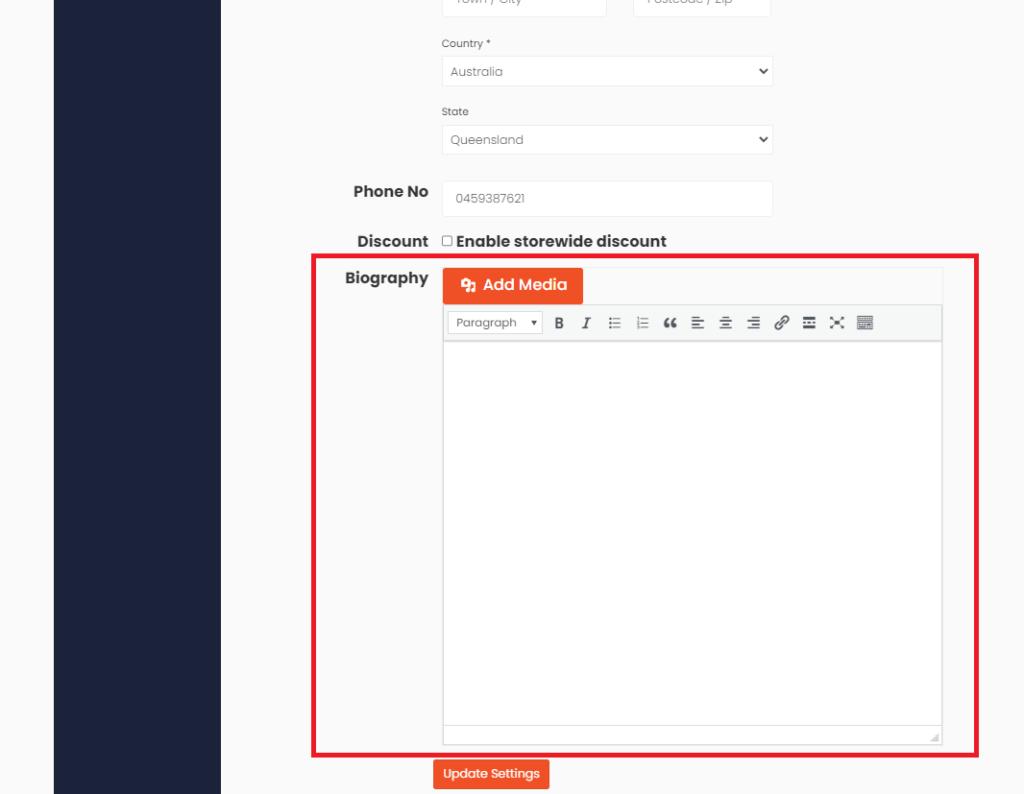
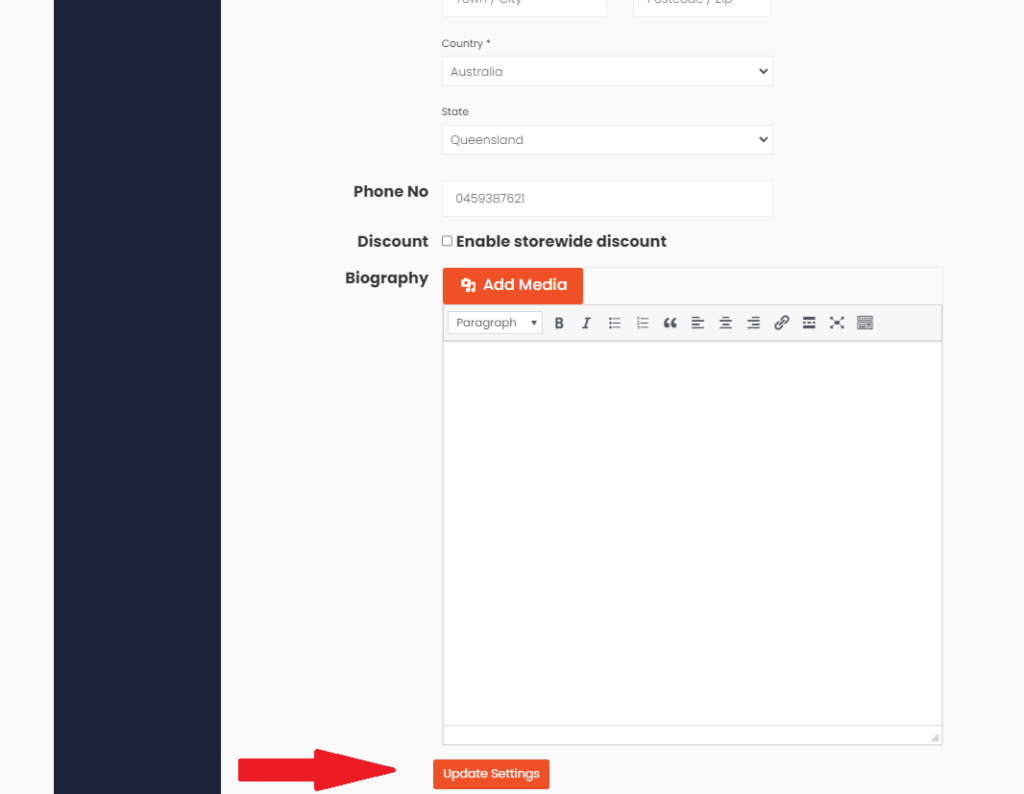
- Save your settings by clicking the “Update” button
- Upload your Store Banner and Personal Avatar.
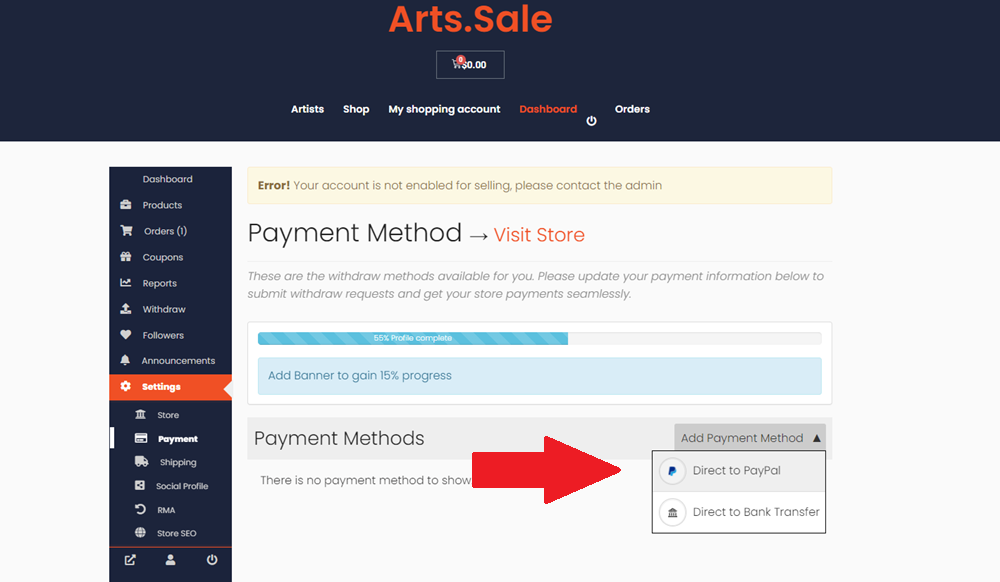
Choose Your Payment Method
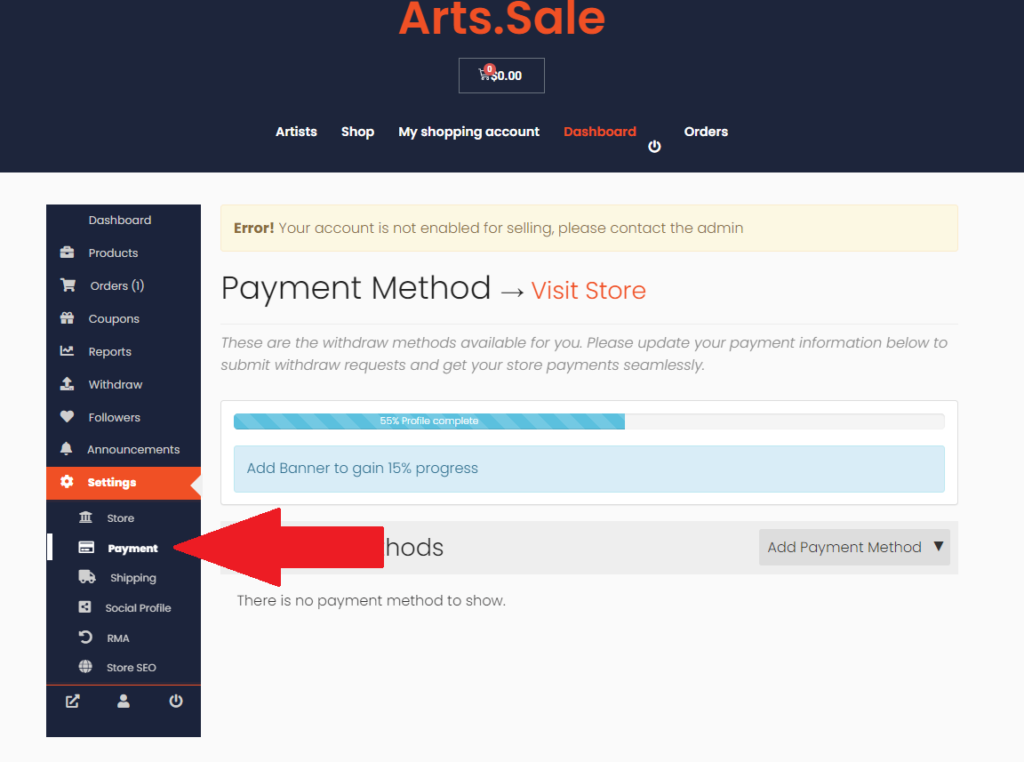
- Go to the Dashboard, then Settings, and choose “Payments.”
- Select your payment method (PayPal or Bank Transfer).
Add PayPal
- Choose PayPal from the dropdown menu.
- Enter your PayPal email address.
- Click “Update Settings.”
- You will see a disconnect button in case you want to remove this payment method.
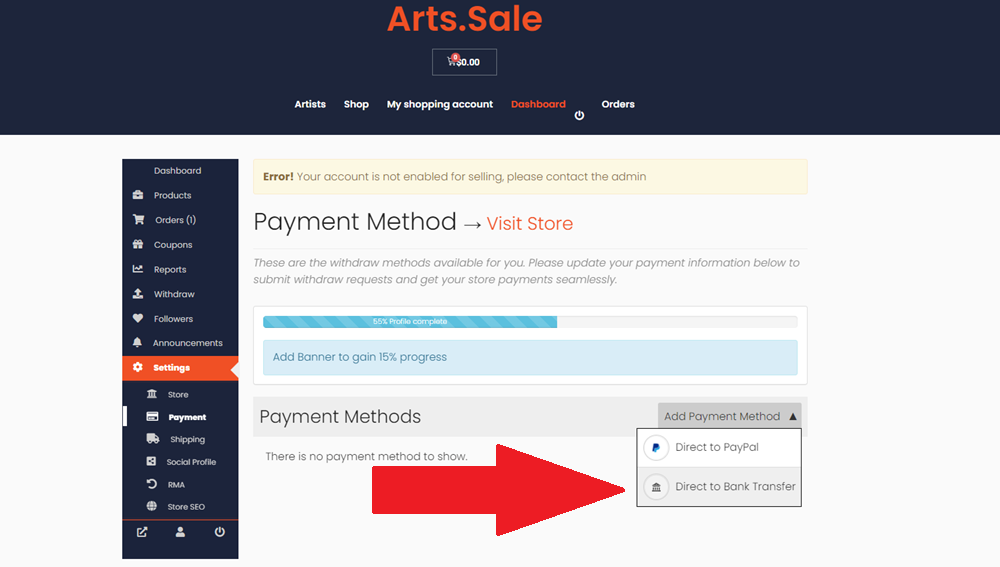
Add Bank Transfer
- Choose Direct to Bank Transfer from the dropdown menu.
- Fill out and double-check your bank details.
- Click “Add Account.”
- You will see a disconnect button in case you want to remove this payment method.
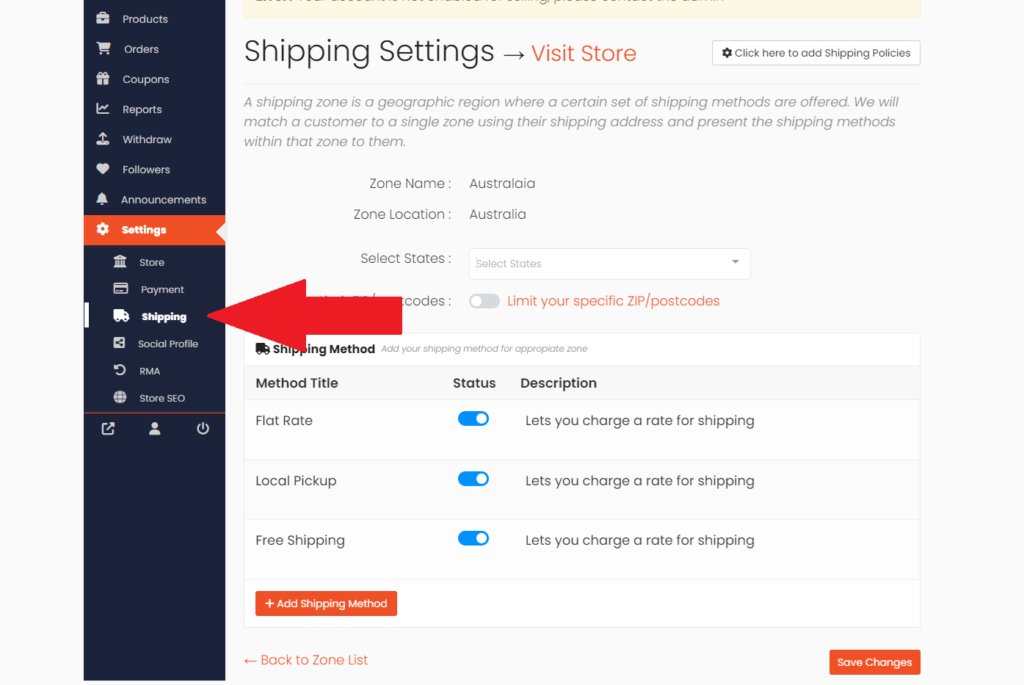
Set Shipping Zones and Rates
- Go to the Dashboard, then Settings, and choose “Shipping.”
- You will see four preset shipping zones. Add your shipping prices for each zone.
Edit Shipping Zones
- Navigate to a shipping zone (e.g., Africa) and click “Edit.”
- Set a price for the entire zone.
- To exclude specific regions, add the selected zip codes.
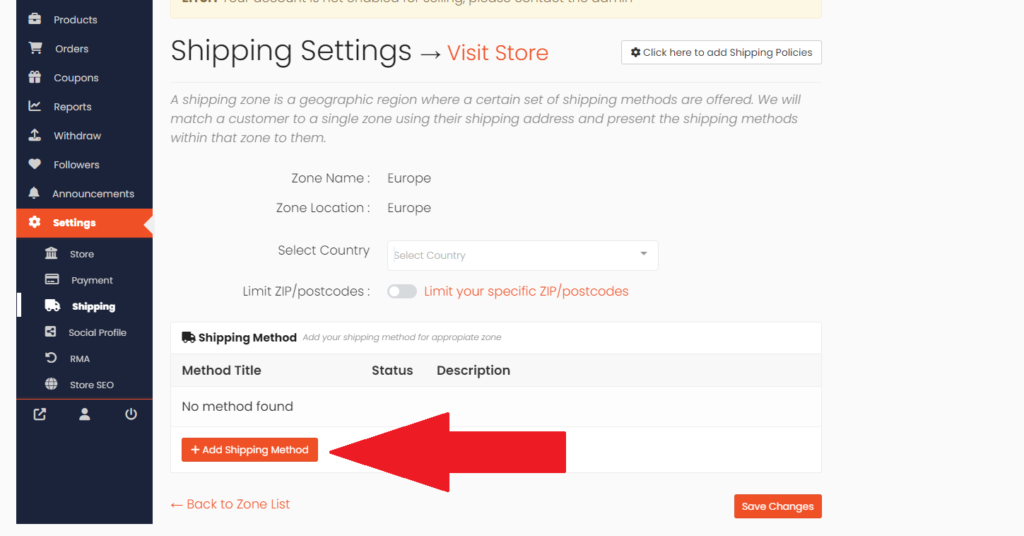
Add Shipping Methods
- Click “Add Shipping Method” and choose from:
- Flat Rate
- Local Pick Up
- Free Shipping
- Click “Add Shipping Method” and choose from:
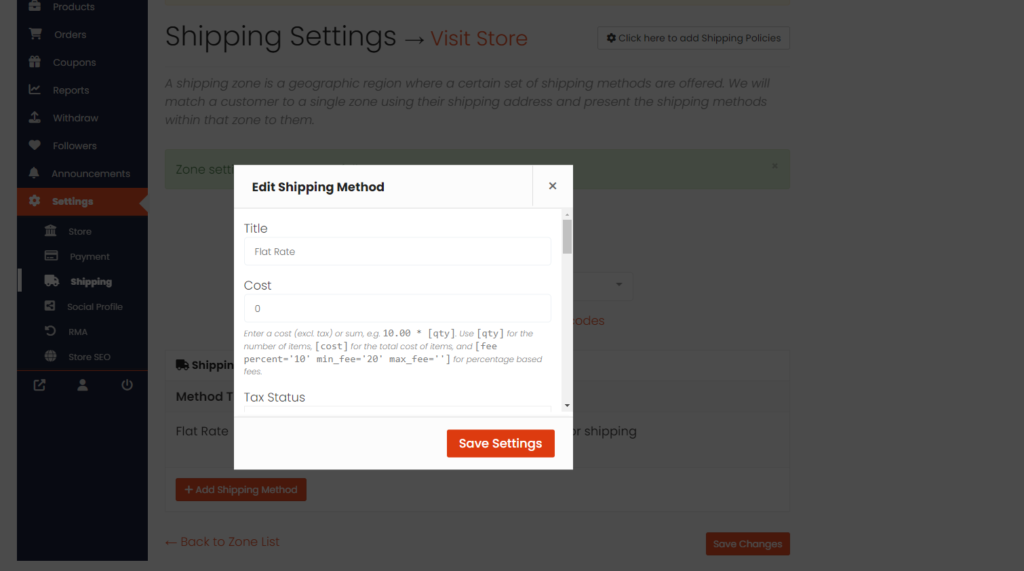
Set Up Flat Rate
- Define your flat rate cost.
- For local deliveries, choose “Taxable”; for international, choose “None.”
- Add a description if needed.
- Set “Shipping Class Cost” for different sizes of paintings (Large, Medium, Small, Posters, etc.).
- Define the calculation type for single or multiple orders.
Set Up Free Shipping
- Offer free shipping with conditions such as a promotional coupon or minimum order amount.
- Ensure the settings match your intentions to avoid unintended free shipping.
Set Up Local Pick Up
- Allow customers to collect their artwork locally.
- Choose whether to make this option free or paid.
1. Navigate to the Login/Sign-Up Page
a. Go to the Login | Sign-Up page.
b. Follow to the Register section and choose “Vendor.”
2. Enter Your Details
a. Provide your Email Address, Full Name, Shop Name, and Shop URL (the URL will auto-fill based on the Shop Name, but you can change it if needed).
b. Enter your Phone Number.
c. Agree to the Terms and Conditions.
d. Click the “Register” button.
3. Confirm Your Registration
a. An activation email will be sent to you. Keep the registration page open until you receive it.
b. If you don’t receive the email, check your spam folder. You can also resend the email from the registration page.
c. Follow the instructions in the email to create a password and confirm your email address.
Congratulations! You are now a registered vendor. Let’s set up your store.
Store Info and Appearance
Log in to your account, go to the Dashboard, then Settings, and choose “Store.”

Upload your Store Banner and Personal Avatar.
Check and update your address and location (city, suburb, and country).
Optionally, set up a discount offer for your shop.
Complete your biography to tell buyers a little about yourself.
Save your settings by clicking the “Update” button
1. Choose Your Payment Method
a. Go to the Dashboard, then Settings, and choose “Payments.”
b. Select your payment method (PayPal or Bank Transfer).
2. Add PayPal
a. Choose PayPal from the dropdown menu.
b.Enter your PayPal email address.
c. Click “Update Settings.”
d. You will see a disconnect button in case you want to remove this payment method.
3. Add Bank Transfer
a. Choose Direct to Bank Transfer from the dropdown menu.
b. Fill out and double-check your bank details.
c. Click “Add Account.”
d. You will see a disconnect button in case you want to remove this payment method.
1. Set Shipping Zones and Rates
a. Go to the Dashboard, then Settings, and choose “Shipping.”
b. You will see four preset shipping zones. Add your shipping prices for each zone.
2. Edit Shipping Zones
a. Navigate to a shipping zone (e.g., Africa) and click “Edit.”
b. Set a price for the entire zone.
c. To exclude specific regions, add the selected zip codes.
3. Add Shipping Methods
a. Click “Add Shipping Method” and choose from:
Flat Rate
Local Pick Up
Free Shipping
4. Set Up a Flat Rate
a. Define your flat rate cost.
b. For local deliveries, choose “Taxable”; for international, choose “None.”
c. Add a description if needed.
d. Set “Shipping Class Cost” for different sizes of paintings (Large, Medium, Small, Posters, etc.).
e. Define the calculation type for single or multiple orders.
5. Set Up Free Shipping
a. Offer free shipping with conditions such as a promotional coupon or minimum order amount.
b. Ensure the settings match your intentions to avoid unintended free shipping.
6. Set Up Local Pick Up
a. Allow customers to collect their artwork locally.
b. Choose whether to make this option free or paid.